- “This post contains affiliate links, which means I receive a small commission, at no extra cost to you, if you make a purchase using this link. Please see my disclosure for more details.”
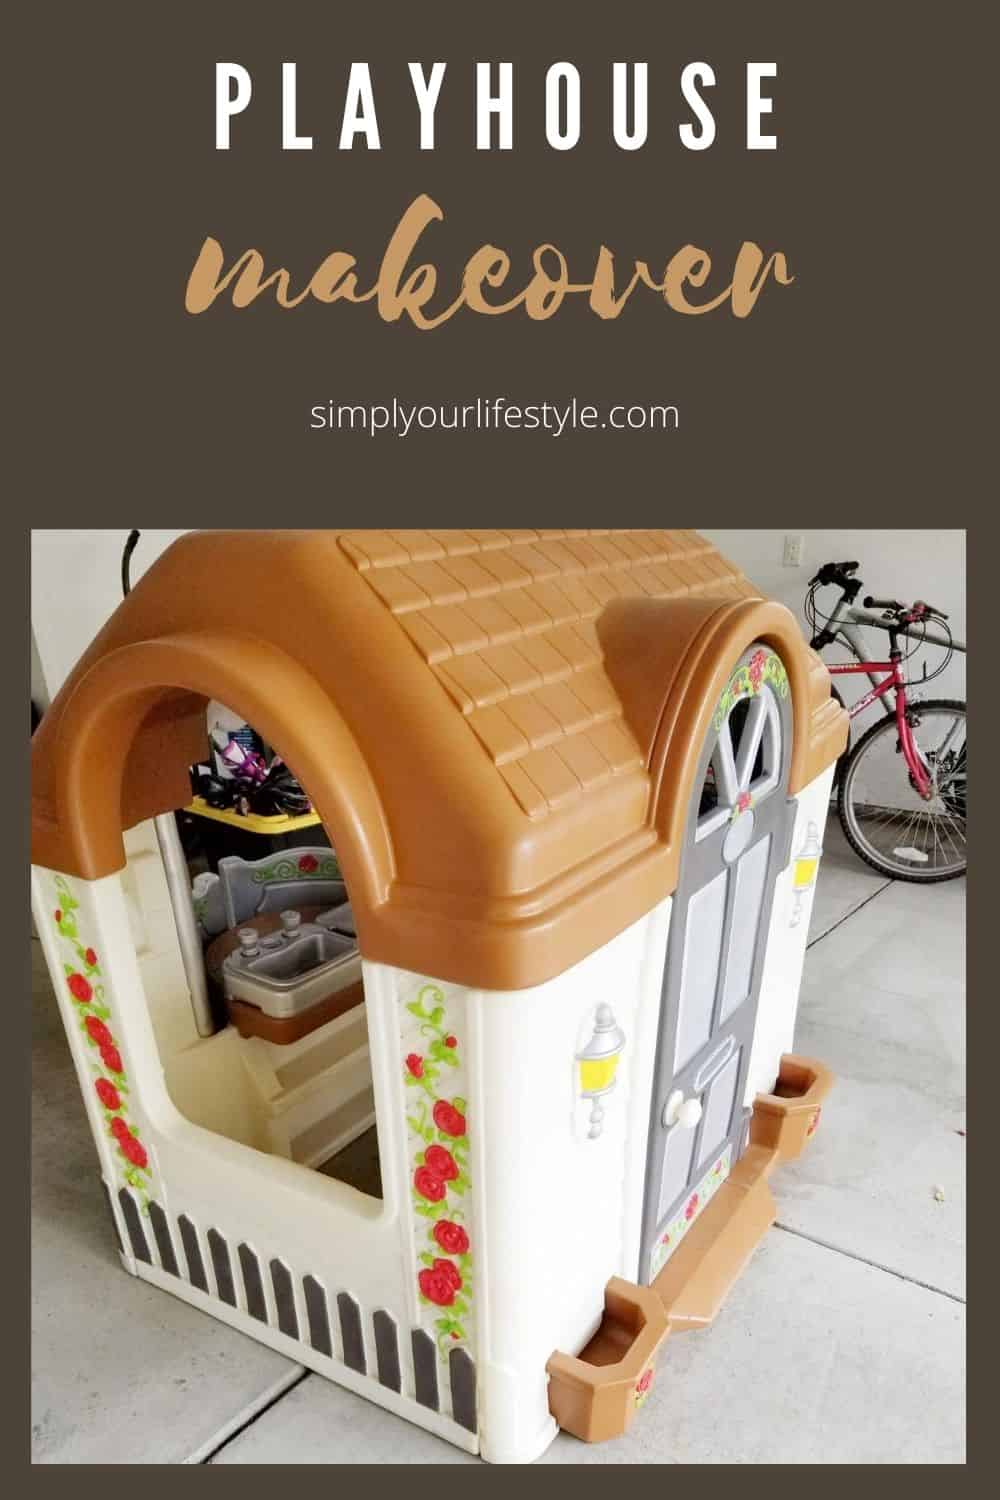
Best Playhouse Makeover For Amazing Results!

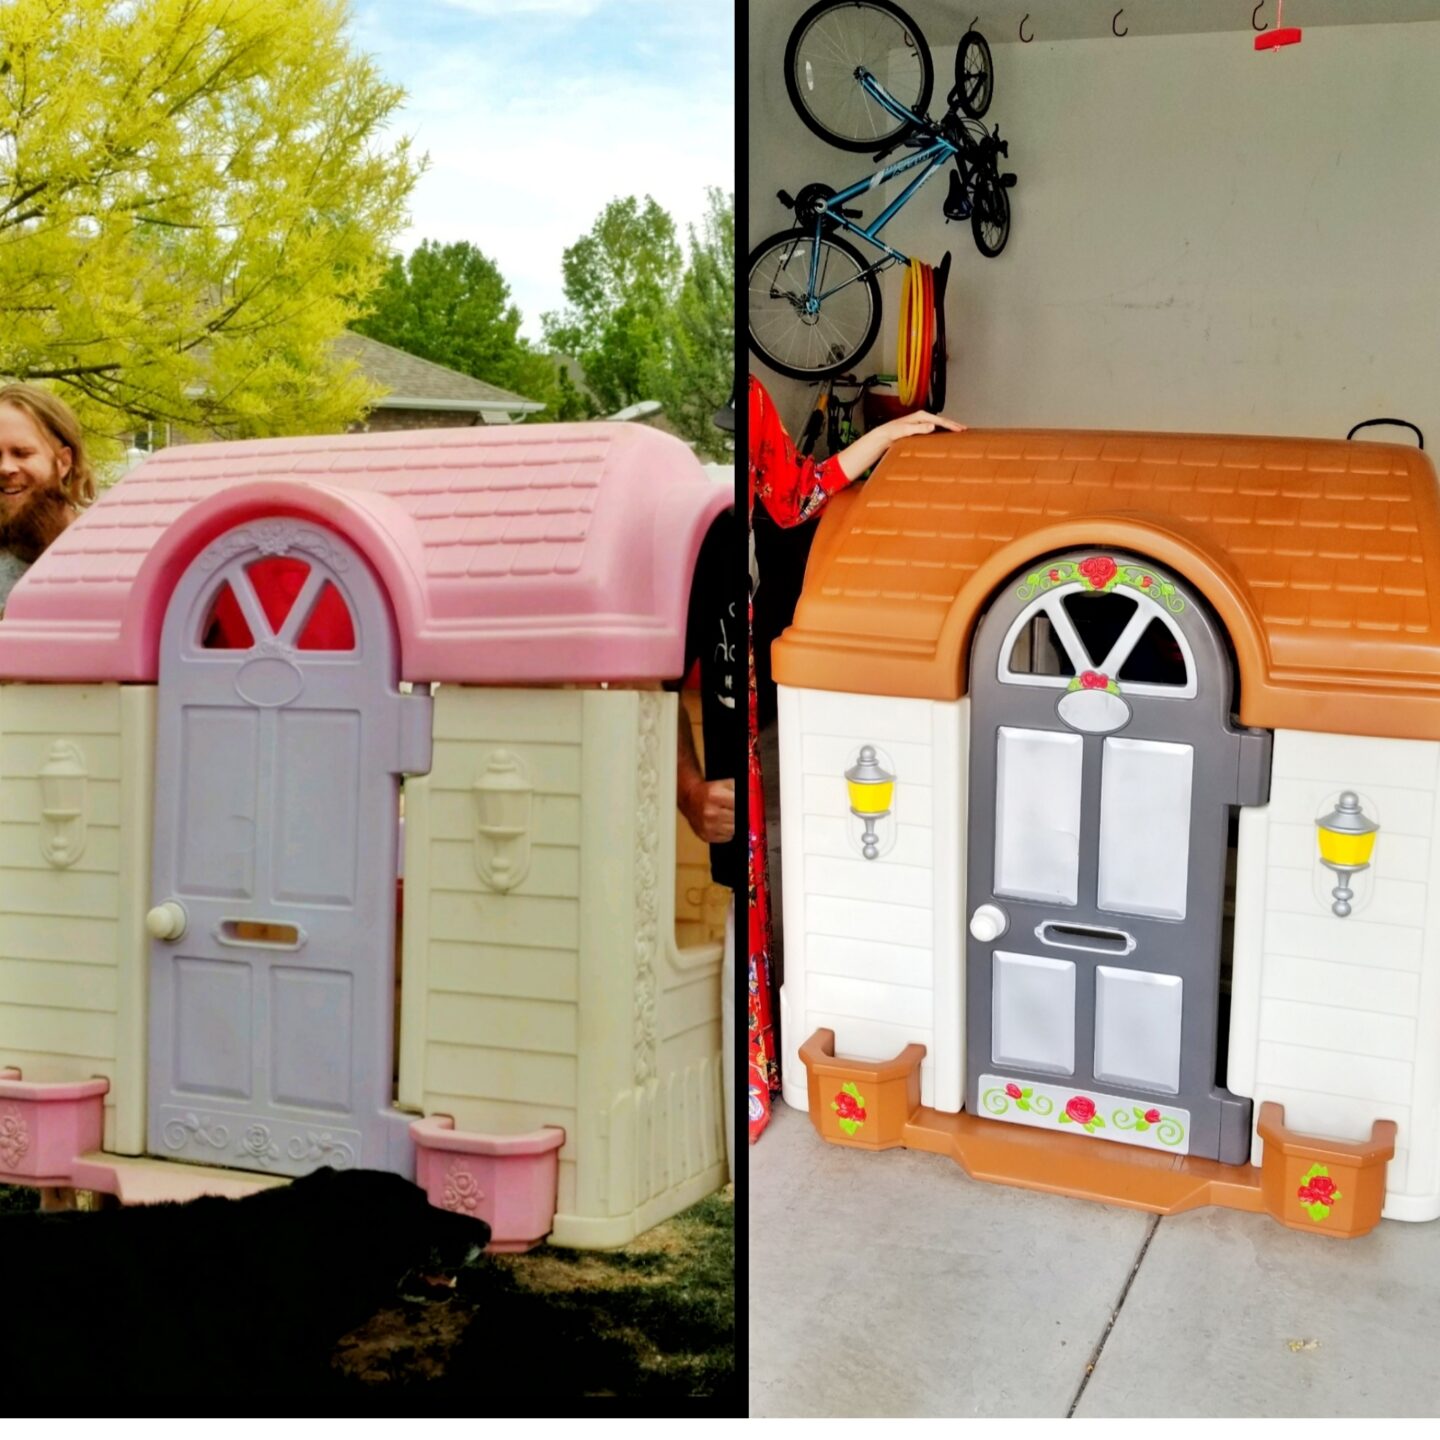
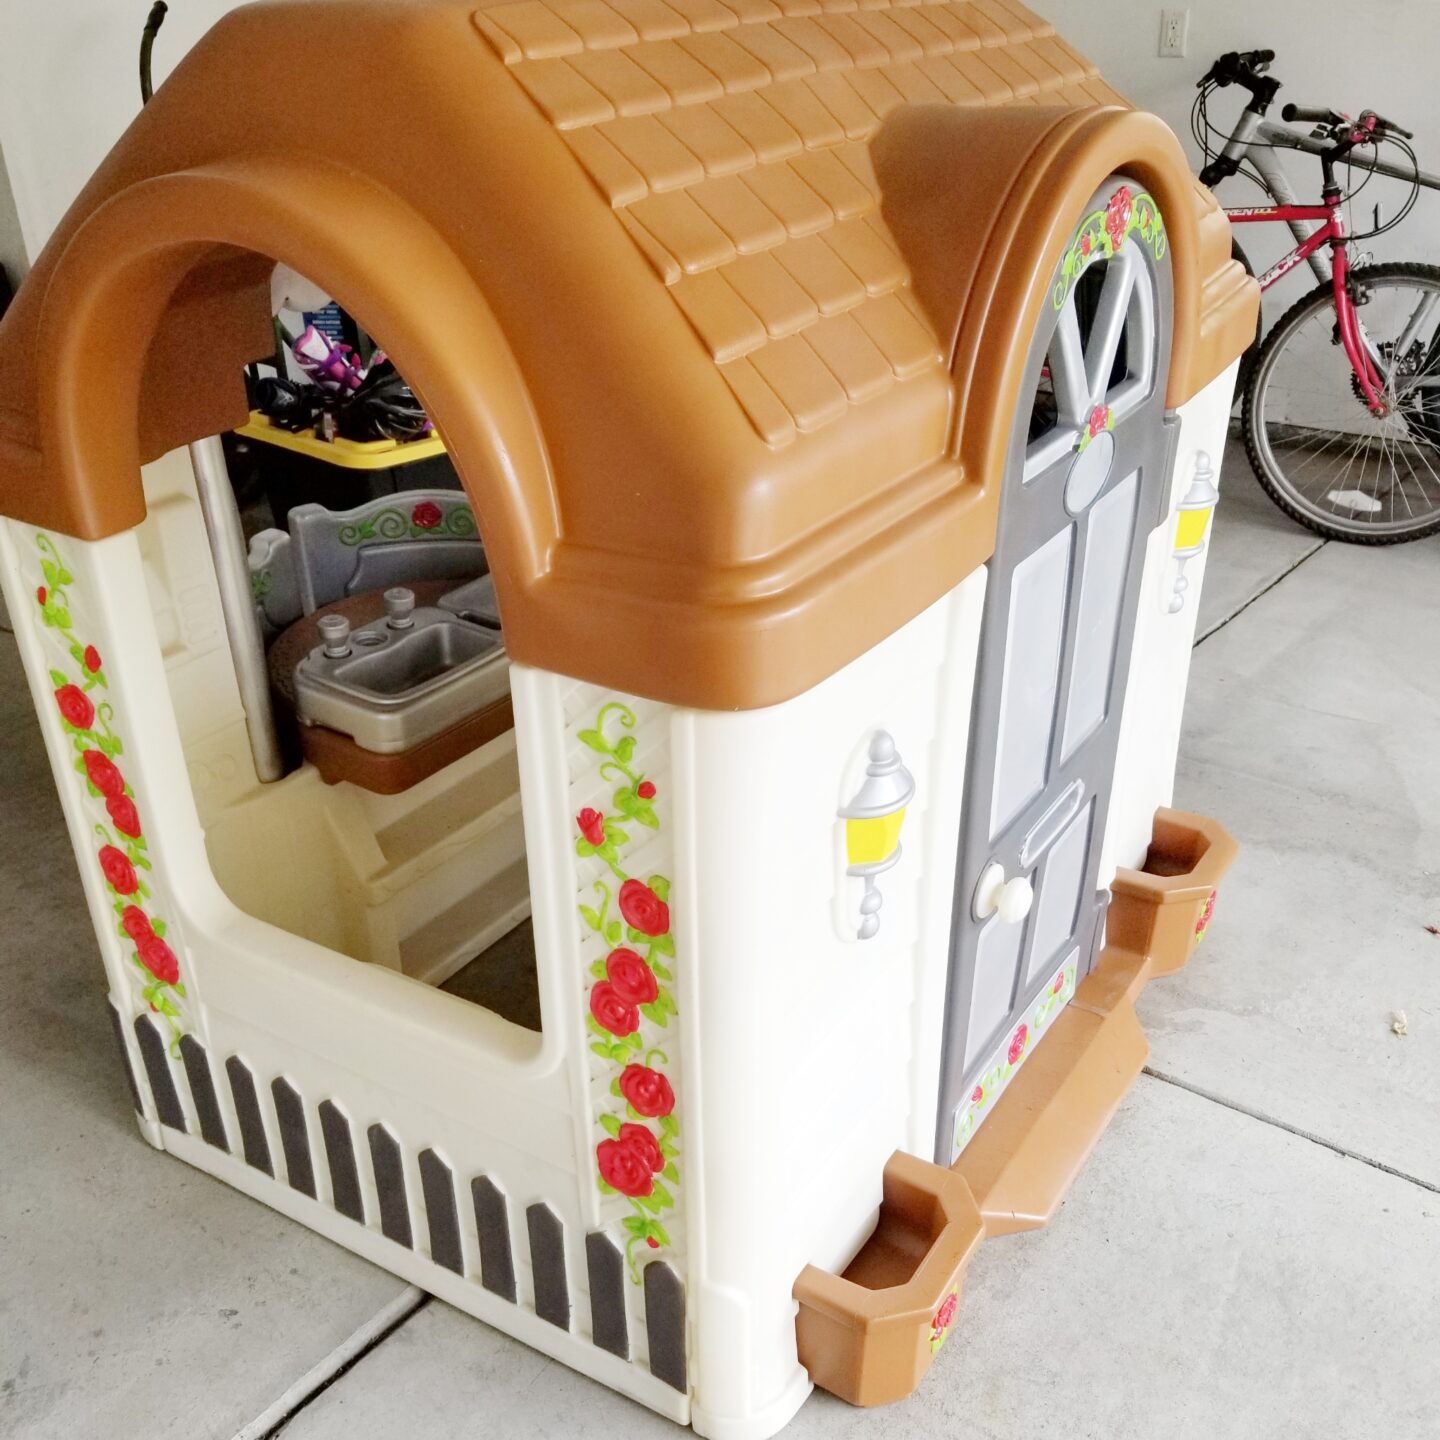
Buying a BRAND NEW play house is getting more and more expensive. But you can find a cheap, or even free one listed on the Facebook Marketplace or on the side of the road. Then, if you know what steps to take and what to use, doing a playhouse makeover can provide you with an incredibly adorable playhouse even on a small budget. So, Let me show you how to do the Best Playhouse makeover with Amazing Results.
My first play Toy makeover!
Three Christmas’s ago my husband and I had no budget for gifts. We had two kids at the time and I wanted to give them something fun. I found an old dirty plastic kitchen set on the side of the road. IT WAS FREE. I took that kitchen set home and cleaned it up. This was the start of my toy makeovers. I used my artistic and budgeting skills, and fixed up that little kitchen set. By Christmas It had new paint, burners, and food. And to top it off… once the kids outgrew it, I was able to sell that adorable kitchen set that I had found for free.
Since then, I have made over Tiny Tike Cars (another post on this, coming soon), toys, and…. Play Houses! And…now I get to show you how to do this yourself.
Tear it down before you build it up.

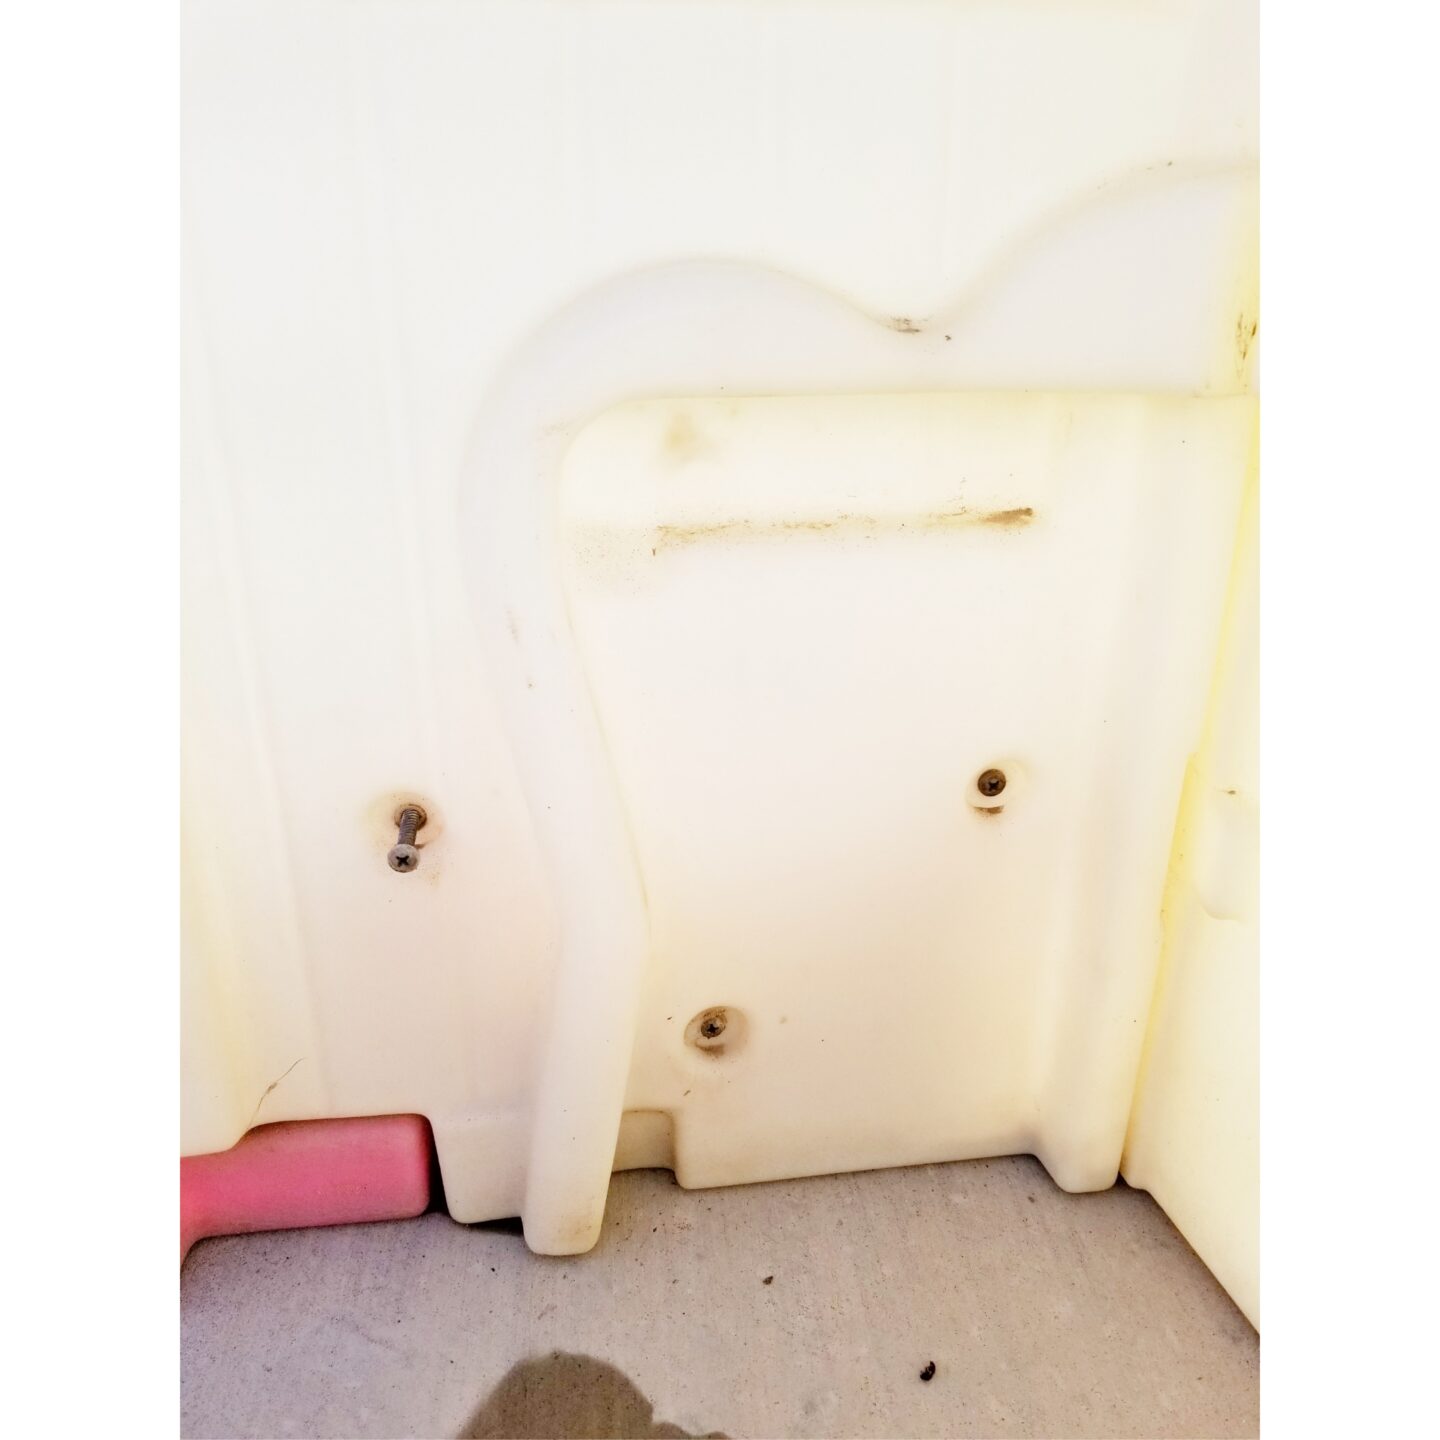

This is the scariest part. You have to take the playhouse APART, because if you don’t, you’re setting yourself up for torture with the amount of taping off you’ll have to do… over and over and over again. Just pop the pieces apart like a puzzle. Mine did have a few screws holding the base together. Remove the screws and put them into a baggy for safe keeping. DON’T LOSE THE SCREWS.
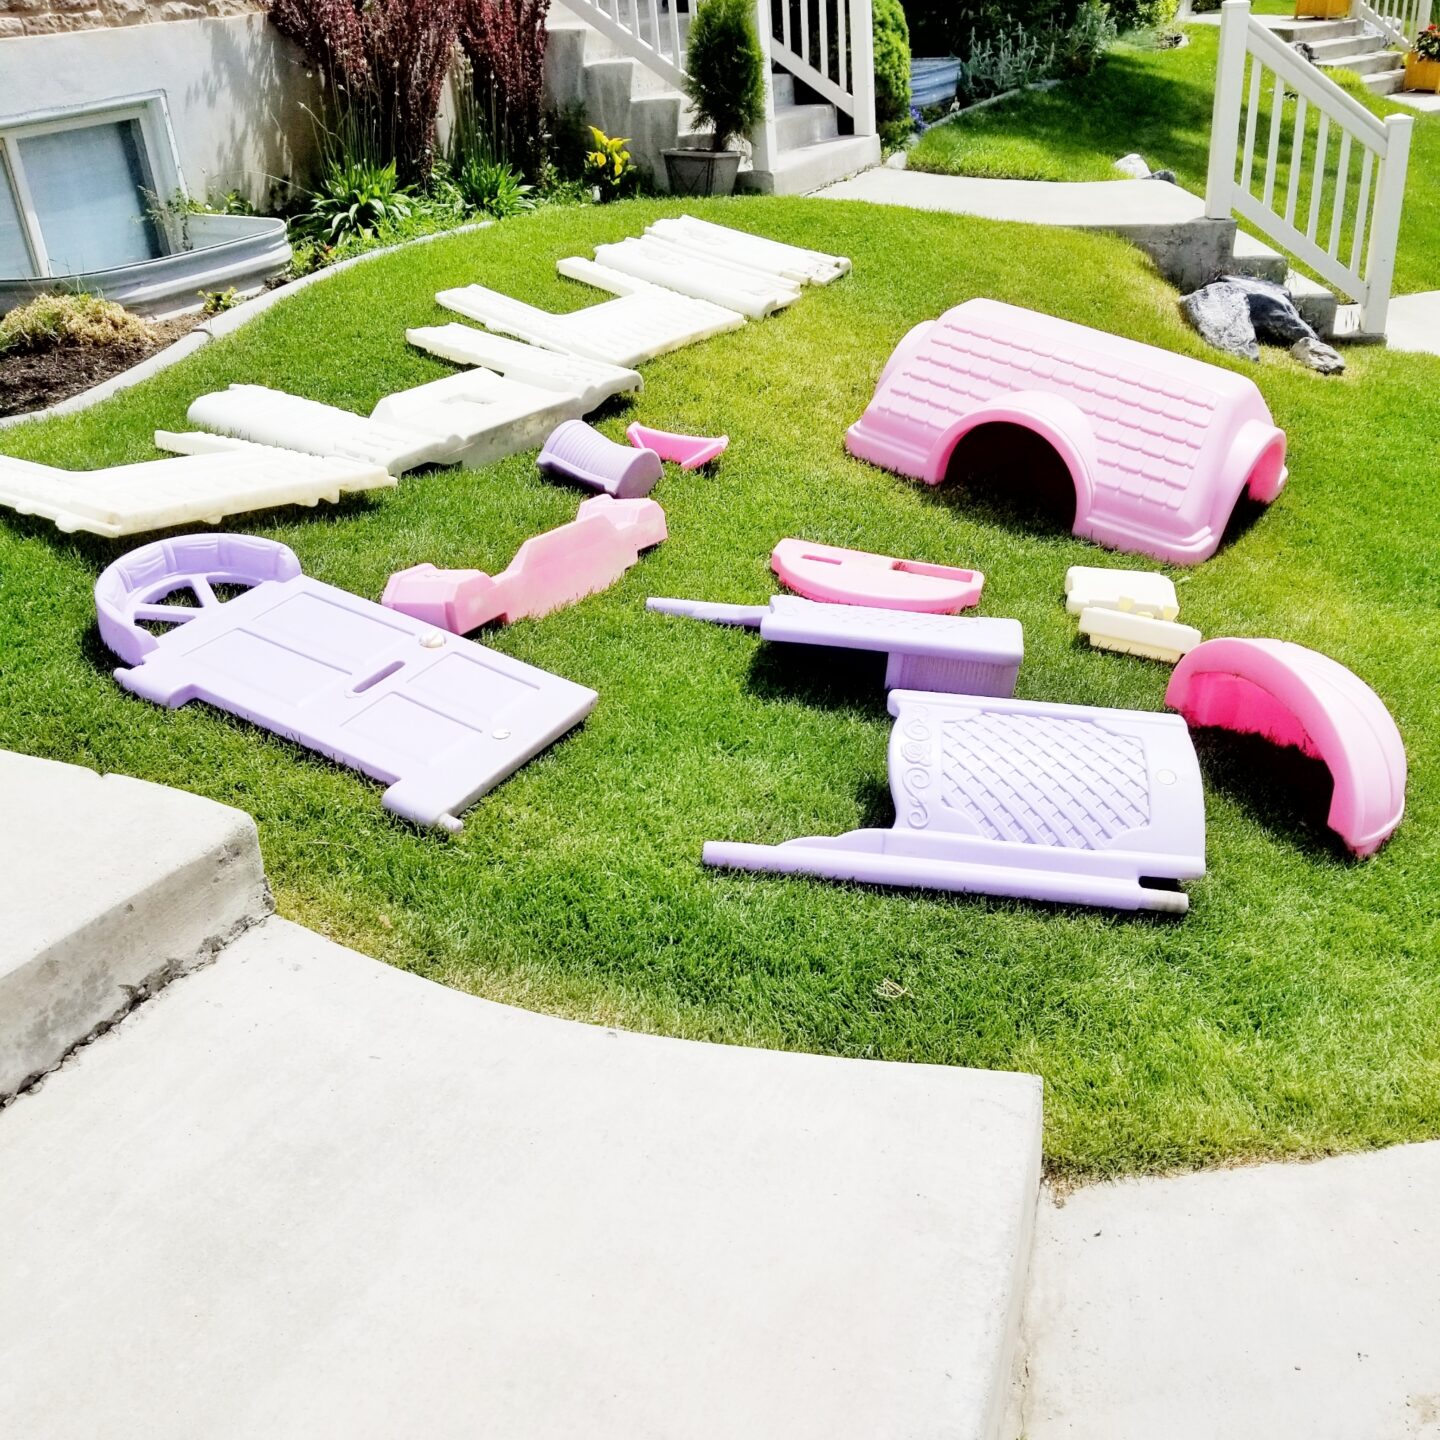
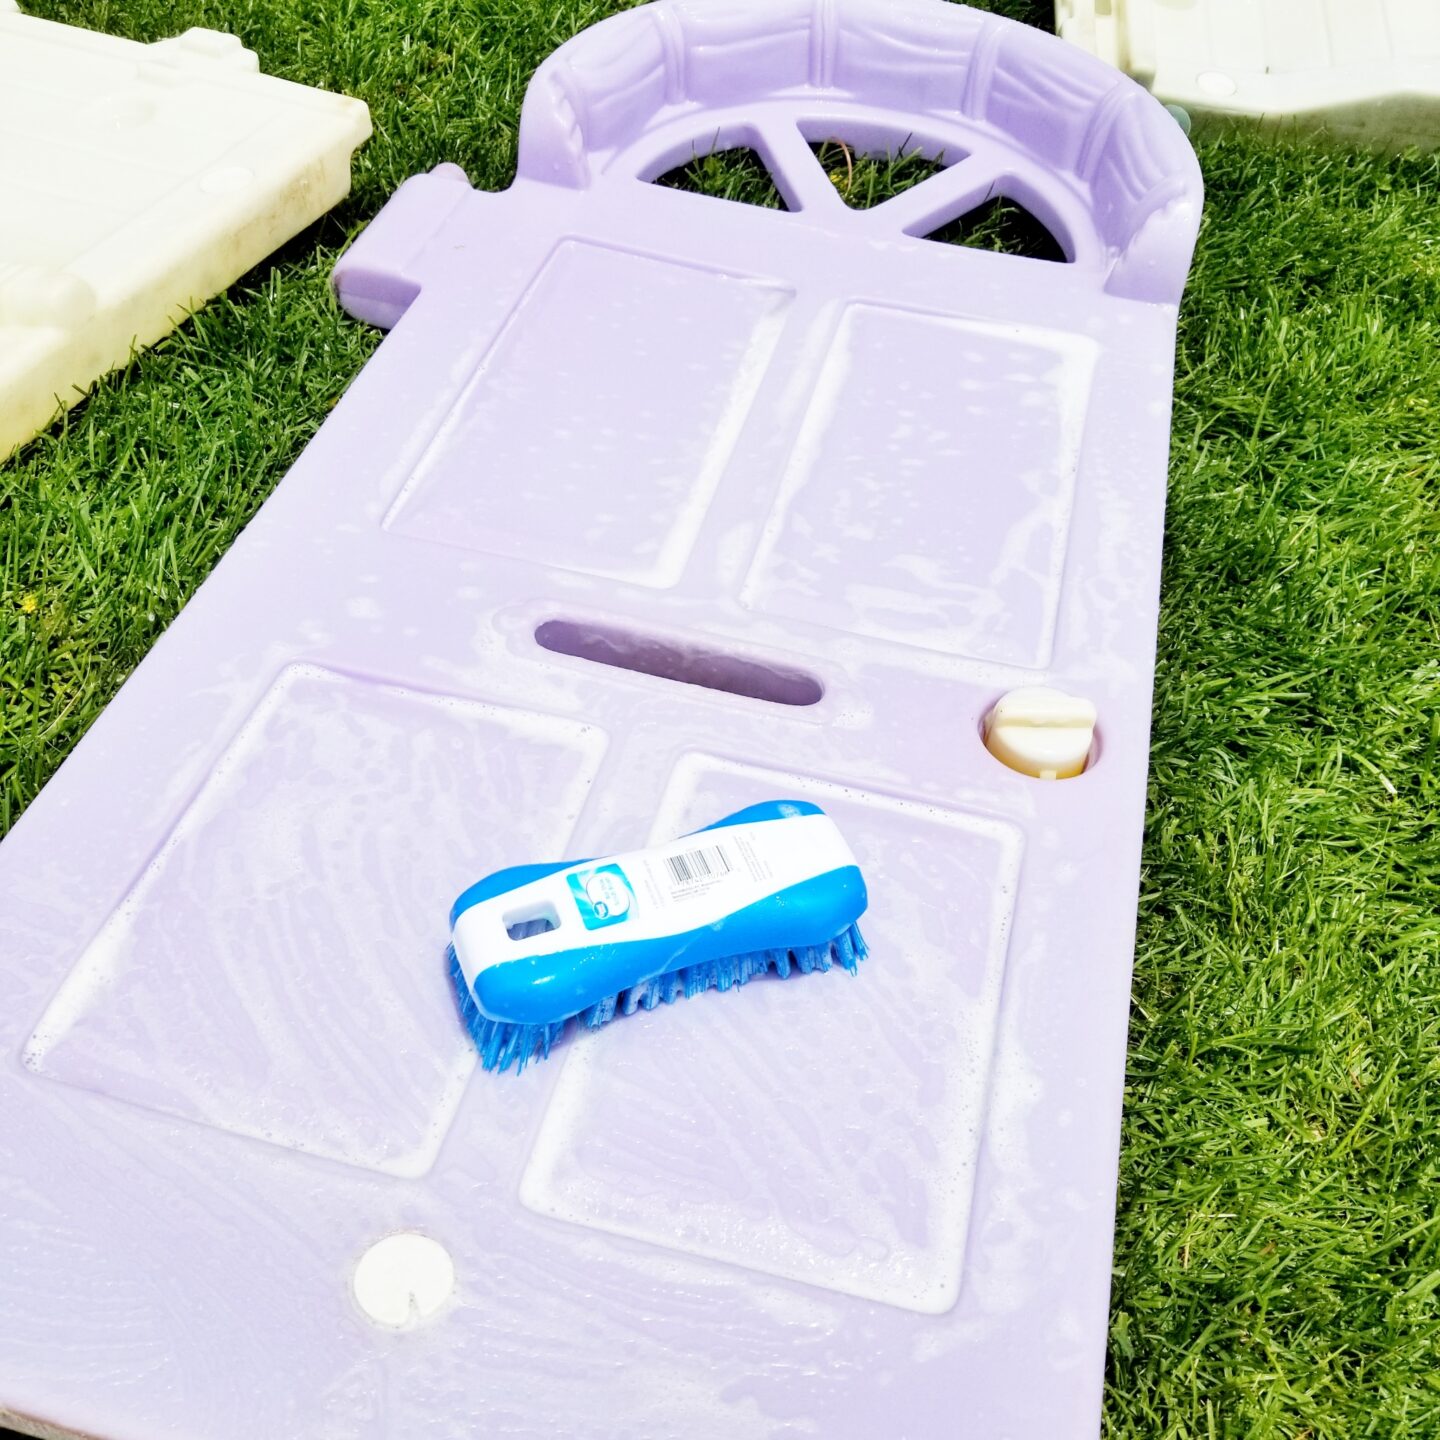
Once everything is pulled apart you need to wash all the pieces. Paint won’t stick if the plastic is dusty or dirty. If you have a power washer, this is the perfect time to use it. I don’t have one, so I just used the jet setting on my hose head. Spray and scrub, spray and scrub!!! Dry, dry, dry!!!
- Take the playhouse apart
- Wash all the playhouse pieces
- Dry all the pieces off
Your paint matters!!!


You HAVE to get the right paint, Use American Accents 2x ultra Cover Paint and Primer. You need this paint for three reasons.
- It’s a paint and primer. So, it’s less steps for you.
- It adheres to plastic (Not all paint sticks to plastic).
- It dries soooooo fast!
Choose three main colors for the large pieces. Walmart sells them for a quarter of the price Amazon does. In this example I used…
- Warm Caramel (3)
- Metallic (3)
- Dark Grey (3)
- Matte Clear Coat (3-4)
- You will need about three cans of each color (more if you’re doing the entire walls). I left mine white.
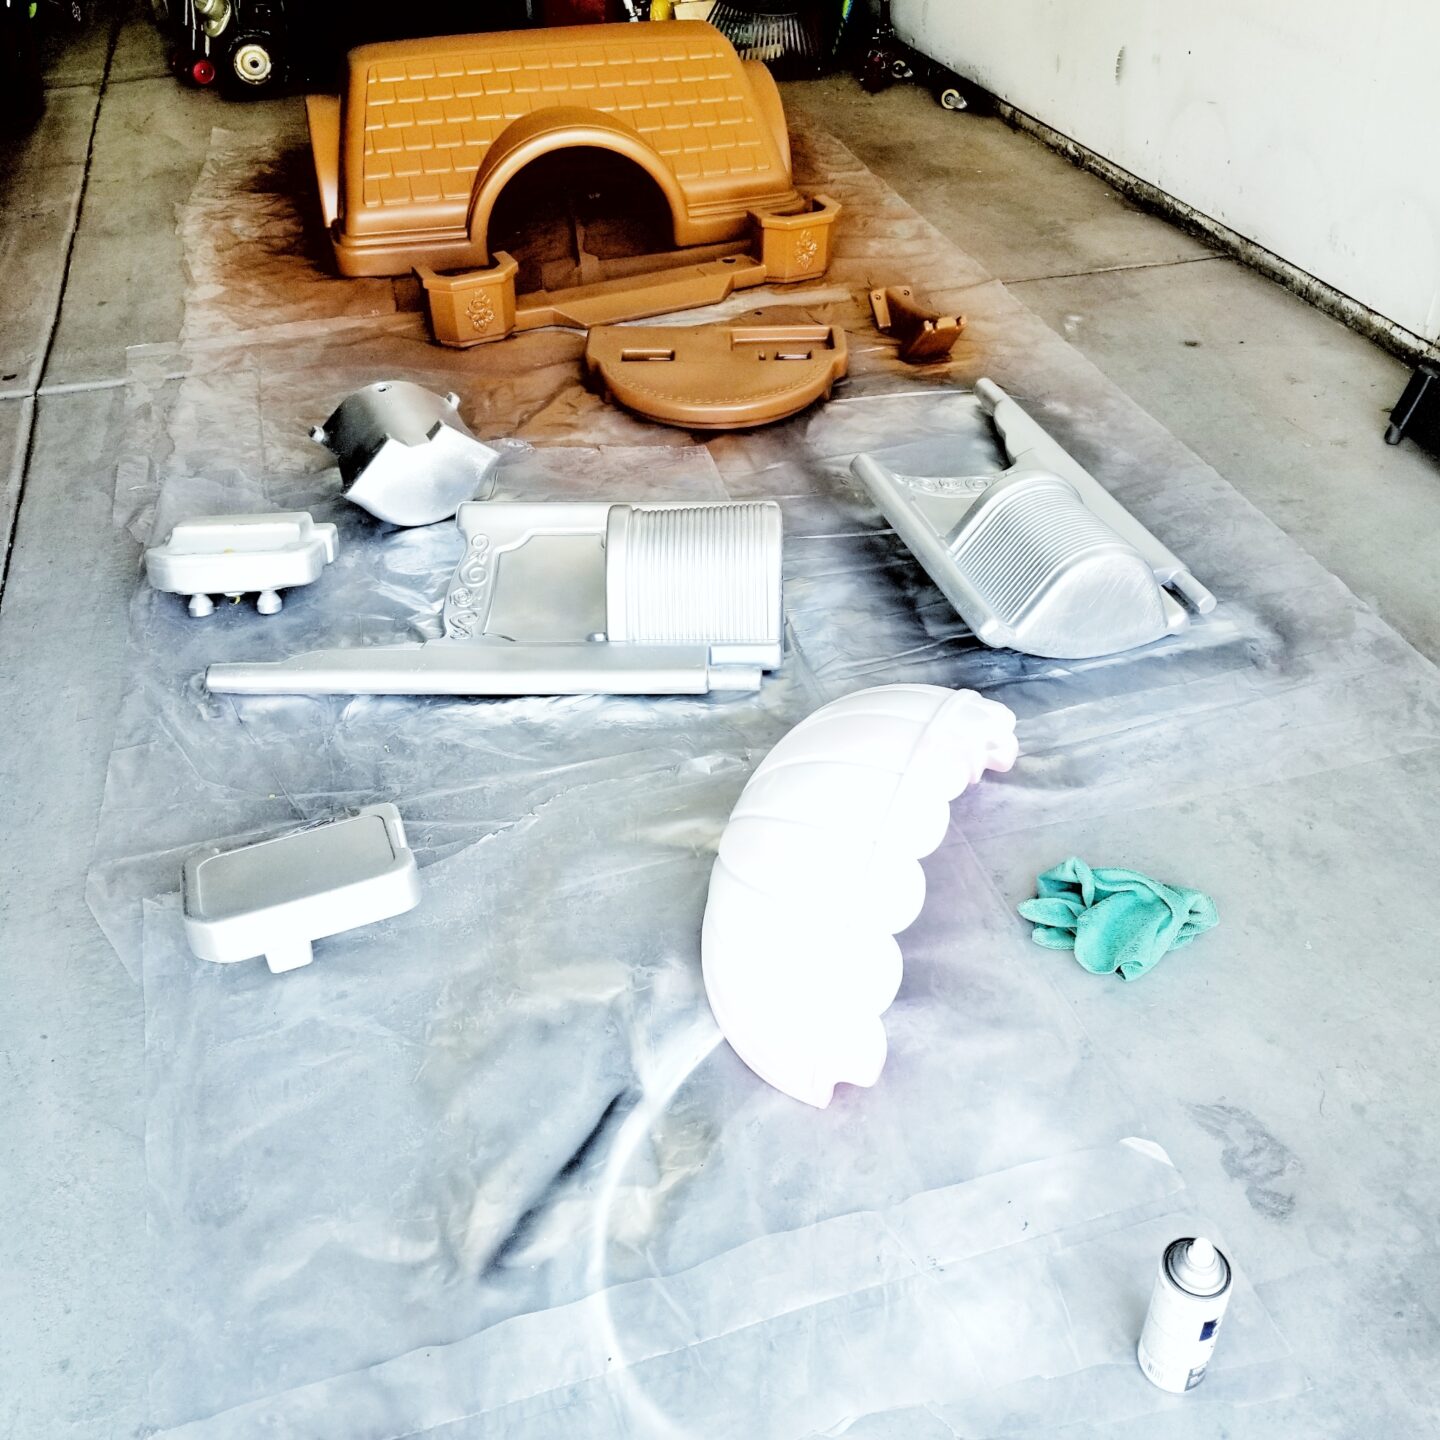
Time to start painting your playhouse pieces!
- Lay down some plastic in your garage or outside on the lawn
- Lay out your house pieces about one foot apart from each other (so you don’t get the wrong color on the wrong piece.
- Shake your spray paint can before using (this mixes the oils and paint together).
- Hold the spray paint can about a foot away from the playhouse piece and in a continuous motion, spray across the surface for a smooth first coat. DO NOT SPRAY CLOSER THAN ONE FOOT OR YOU WILL GET DRIPS. You will need to do two to three coats to get a good solid color.
- Let it dry completely between coats
- Let it dry for 24 hours before putting painters tape over an area that you have sprayed.
The Fun Is In The Details


Once you get all the big pieces done. You can have fun with the detail. PLEASE PLEASE PLEASE do NOT tape onto a surface that has not dried for at least 24 hours or you will pull up your smooth, fresh, beautiful paint.
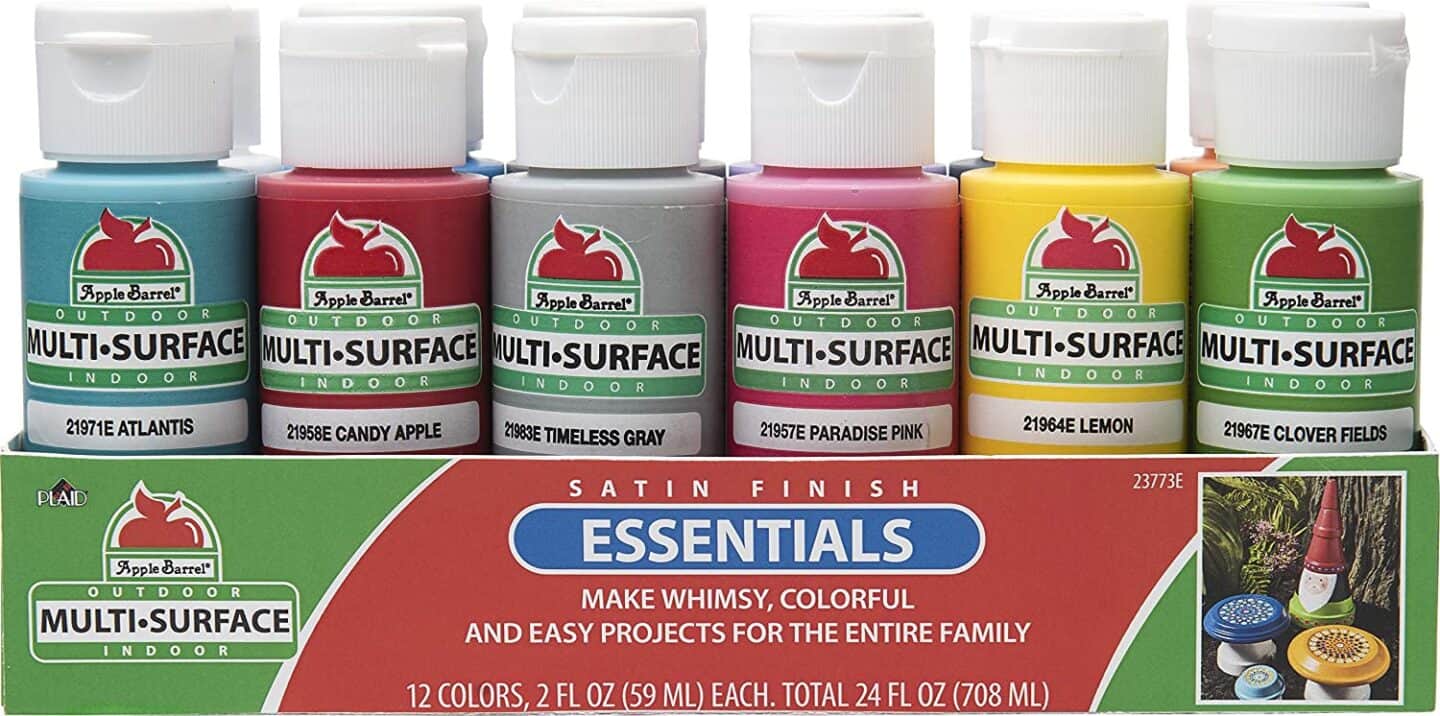
You need a multi-surface paint that can be used for indoors and outdoors. On this play house I used Folk Flirt Multi-surface Outdoor/Indoor (pictured above). I haven’t been able to find it online or in stores since Covid_19 has been high in effect. Probably due to everyone being home crafting their hearts out. But I have also used and equally love the Apple Barrel brand, and that one is still available. I love love love this set pictured above and linked below. You can also go to the link and just choose the colors you want instead of getting the set.
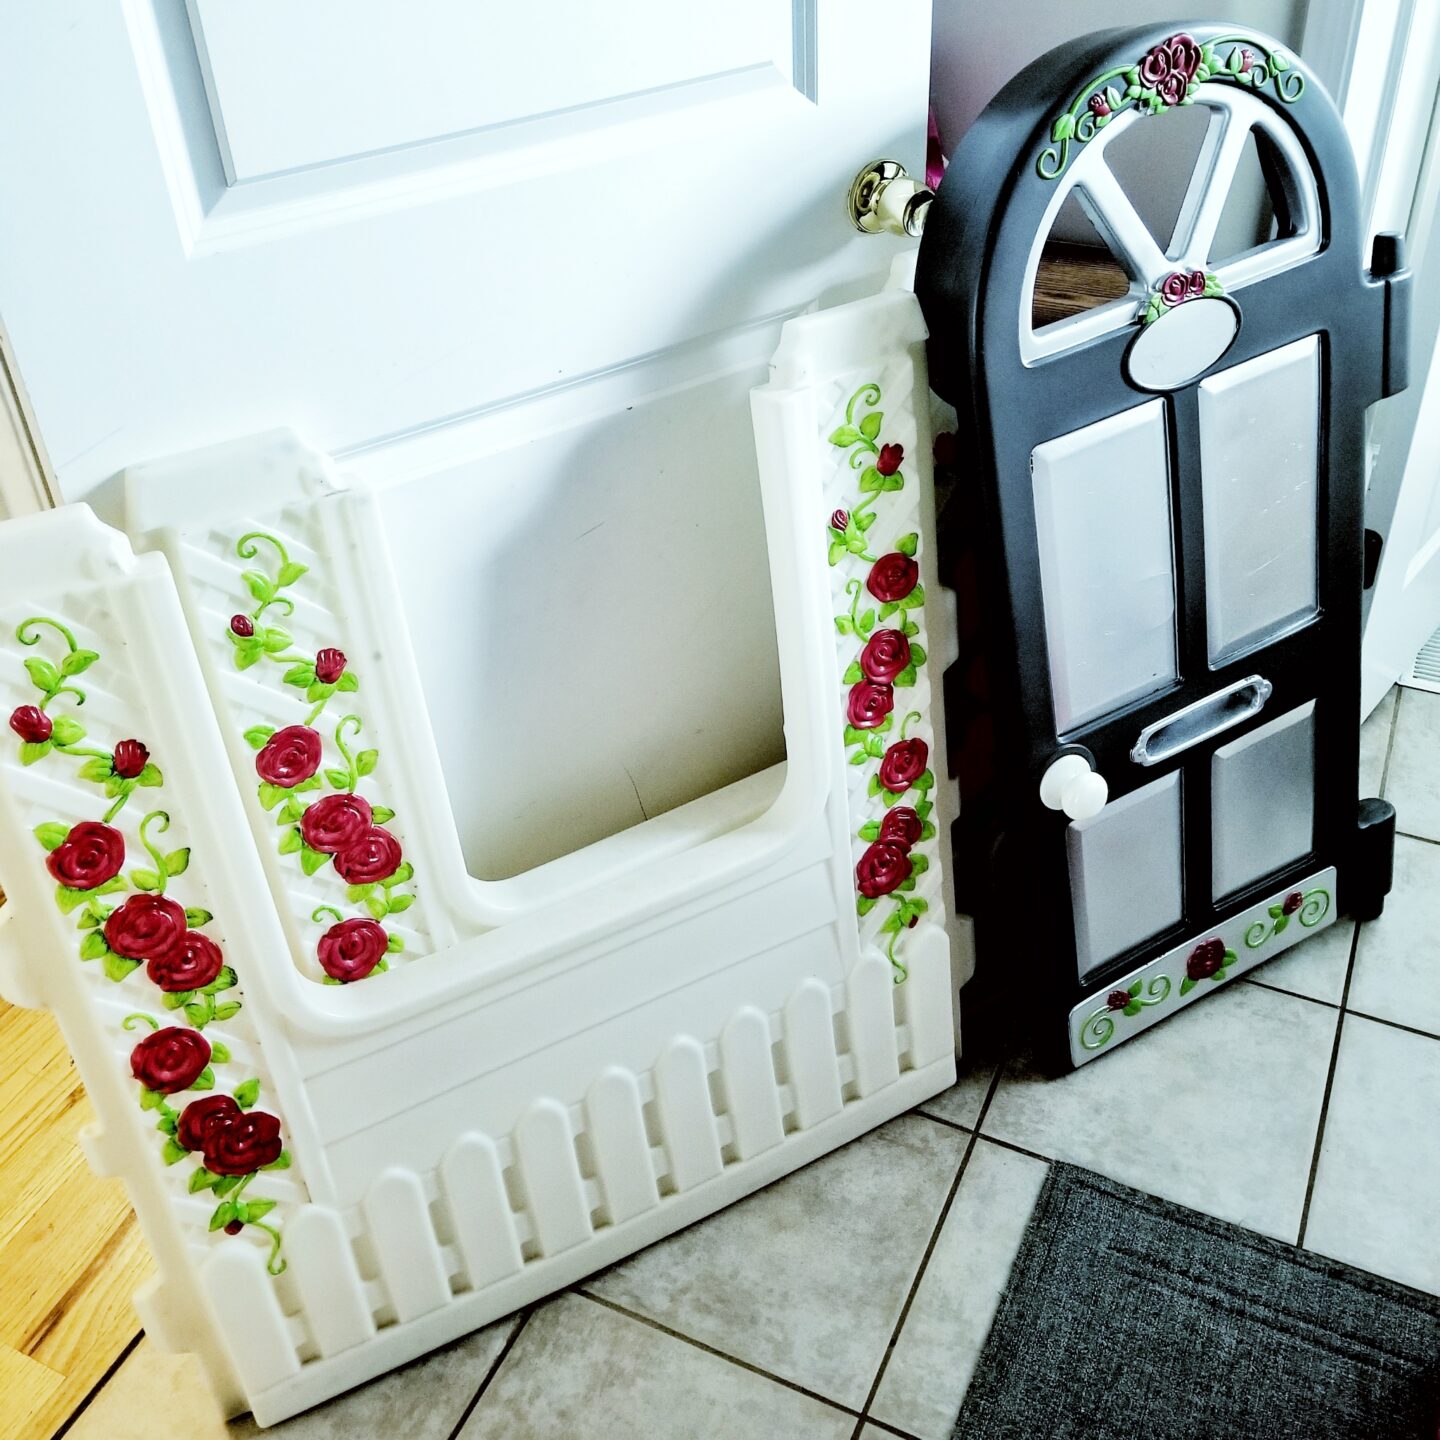
For a multi-colored pieces, like the door pictured above).
- Spray the piece entirely with one color
- then use newspaper and painters tape to tape off all the areas that you want to keep that color.
- Once everything is taped off really well, use your second spray paint and spray from a 12 inch distance.
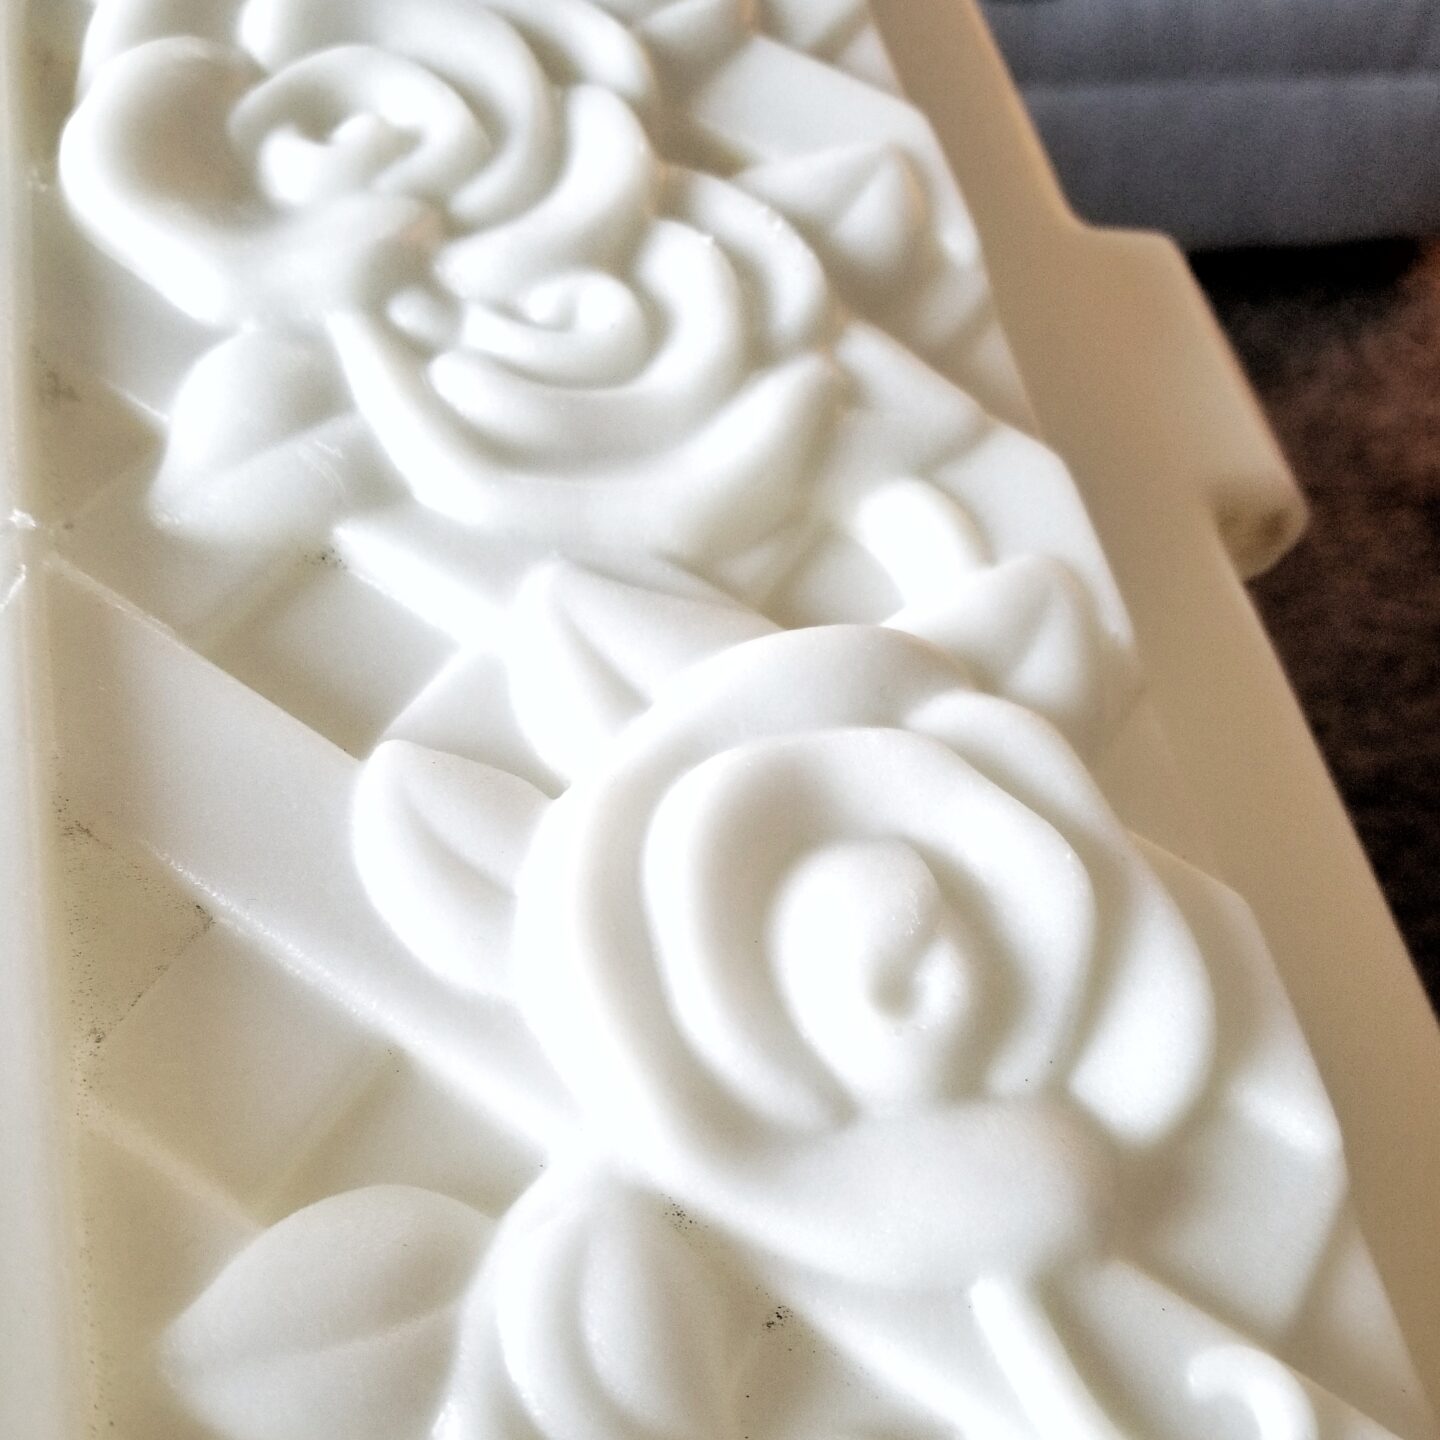
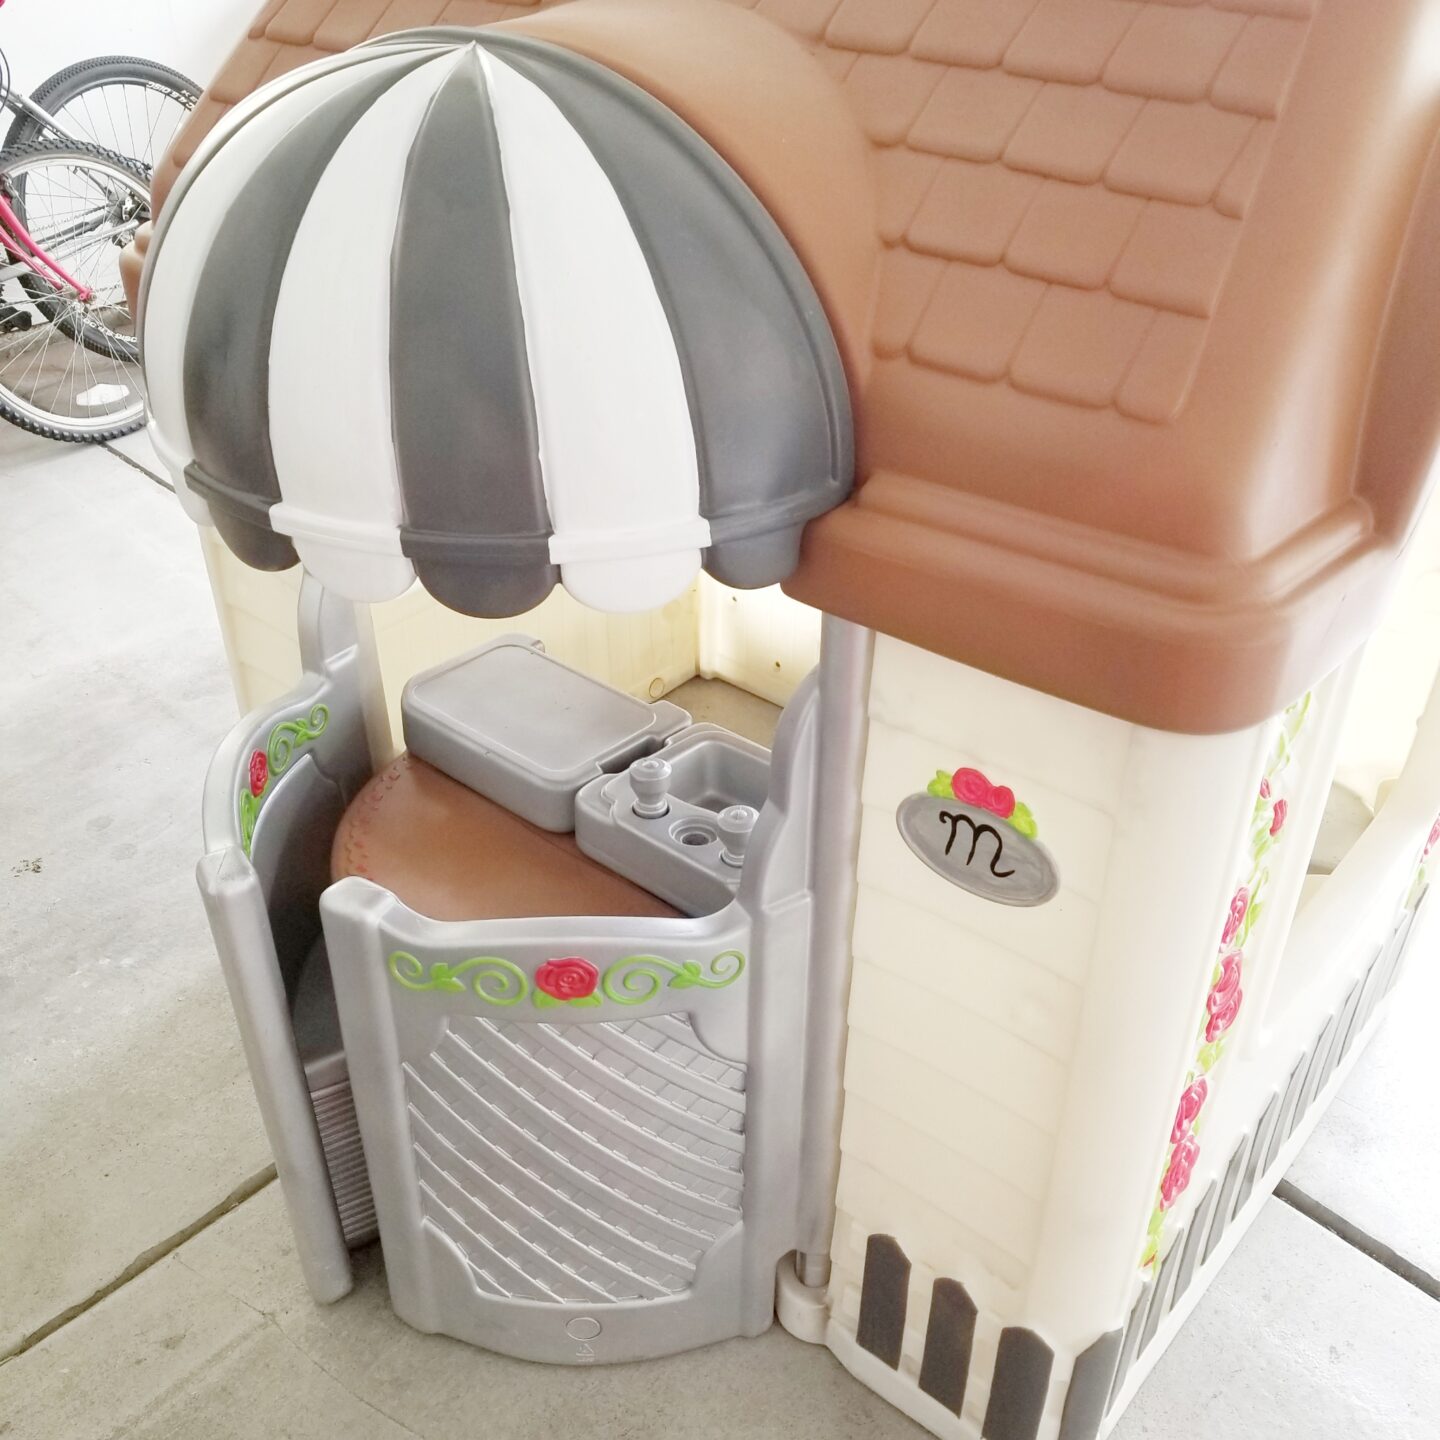
For even more fun details!!! If your playhouse has details embedded into the plastic, like the roses on mine, use the acrylic paint to make that detail POP. Use one color at a time, and make sure it dries before starting the second color.
Put It Together!

YEAH!!! It’s time to put you Playhouse together. This is such a fun part of the whole process. As you put your playhouse together you will see any last touches that need to be done.
- Now you get to finish it up.
- Use a Spray Paint CLEAR Coat. I used American Accents 2x ultra Cover Clear Coat. I recommend Matte, because your playhouse is going to get played with and if you choose glossy, just know, it’s not going to stay glossy.
- Do a MINIMUM of 3 full coats, focusing on areas that will be handled a lot. This clear coat is going to protect your playhouse makeover. So go WILD with the clear coat.
Everything You Need for your Playhouse Makeover!

- Your Playhouse
- Large Plastic for your floor
- news paper
- gloves for your hands
- Painters tape
- Warm Caramel (3)
- Metallic (3)
- Dark Grey (3)
- Matte Clear Coat (3-4)
- Apple Barrel Multi-Surface Indoor/Outdoor acrylic paint
Common Questions
- Do I have to take the Playhouse apart?
- No, but it’s so much easier and saves so much time. If you don’t, you will spend a lot of time taping off pieces.
- TIP: Taking the playhouse apart goes faster because you will be able to spray multiple colors at a time.
- Can I use a different paint?
- Yes! Just make sure it can bond to plastic and that it’s an outdoor paint. Outdoor paints don’t fade as quickly as indoor paints. They also withstand the weather better. And… If your paint isn’t design to stick to plastic it won’t work.
- How long does the Playhouse Makeover last?
- This can depend on a few factors. How hard to your kids play? The harder they play, the more clear coats you will want to do.
- Do you live in an area that experiences all four sessions. Using an outdoor paint is all the more important with weather changes.
- I keep the left over spray paint for touch ups, but if you do every step really well and don’t rush it, your playhouse makeover will last for years to come.
- I spray a clear coat on once a year to maintain the seal.
Now you have a gorgeous Playhouse that you remade yourself. This is going to have more meaning to you and your kids than one you would have just paid for.
I would love to hear if there is anything you would do, or have done, differently! Do you have your own tips that have given you excellent result? Please comment below. Let me know your personal experience with your Playhouse makeover..